

Machine embroidery can be very accessible for beginners, especially with modern machines designed to be user-friendly! While there’s a learning curve, it’s often more straightforward than hand embroidery once you get the hang of the basics. Here’s a breakdown to help you decide:
Why It Can Feel Challenging at First
-
Machine Setup & Controls
- New machines can have buttons, screens, and settings that seem overwhelming (e.g., thread tension, stitch patterns, hooping).
- Tip: Start with a simple, entry-level machine (many brands like Brother, Singer, INITI or Janome have beginner models) and read the manual thoroughly. Most machines also have built-in tutorials or demo modes.
-
Hooping & Fabric Prep
- Properly hooping fabric (stretching it evenly without warping) and using the right stabilizer are crucial to prevent puckering or misalignment.
- Tip: Practice hooping scrap fabric first. Use tear-away or wash-away stabilizers for beginners—they’re forgiving and easy to remove.
-
Thread & Tension Issues
- Thread breakage, looping, or uneven stitches are common beginner issues (usually due to incorrect tension or thread paths).
- Tip: Use quality thread (avoid cheap polyester for starters) and test stitches on a scrap fabric “sampler” before starting your project.
-
Design Selection & Digitizing
- If you want to create your own designs, you’ll need digitizing software (e.g., Hatch, Embrilliance), which has its own learning curve.
- Tip: Start with pre-made designs (many machines come with built-in patterns, or you can download free ones online from sites like Embroidery Library or Urban Threads).
Why It’s Manageable for Beginners
-
Guided Processes
- Most machines walk you through steps: select a design, hoop the fabric, load the thread, and press start. Some even have automatic thread tension adjustments.
- Bonus: Many machines let you preview designs on-screen before stitching, so you can adjust placement easily.
-
Quick Results
- Machine embroidery is much faster than hand stitching, so you’ll see results quickly, which is motivating! A simple monogram or small design can take just 5–15 minutes.
-
Forgiving Projects
- Start with low-stakes items like dish towels, tote bags, or pillowcases. If you make a mistake, you can often pick out the stitches or repurpose the fabric.
-
Abundant Resources
- YouTube tutorials, beginner blogs (e.g., Embroidery Geek), and online forums (like r/embroidery) are packed with tips. Many local fabric stores or craft shops also offer classes.
Best Tips for Beginners
- Start Simple: Focus on small designs (monograms, simple shapes) before tackling complex patterns.
- Use the Right Materials: Invest in a basic stabilizer set and quality thread (Cotton+Steel or Aurifil are great for beginners).
- Practice Patience: Expect a few trial runs before perfection. Mistakes (like crooked hoops or tangled threads) are normal—even experienced embroiderers deal with them!
- Explore Built-in Features: Use your machine’s auto-thread cutter, needle positioning, and stitch preview functions to simplify the process.
Final Verdict
Machine embroidery is not inherently hard for beginners, but it does require patience and a willingness to learn the machine’s quirks. With the right tools, practice, and a focus on simple projects, you’ll likely find it fun and addictive! Many beginners start with monogramming or decorative accents and graduate to more complex designs as they gain confidence.
If you’re on the fence, try renting a machine or taking a short workshop to test the waters before investing in your own setup. Happy stitching! ?✨
You can contact us, we have detailed tutorials that will guide you step by step to become an expert, free of charge
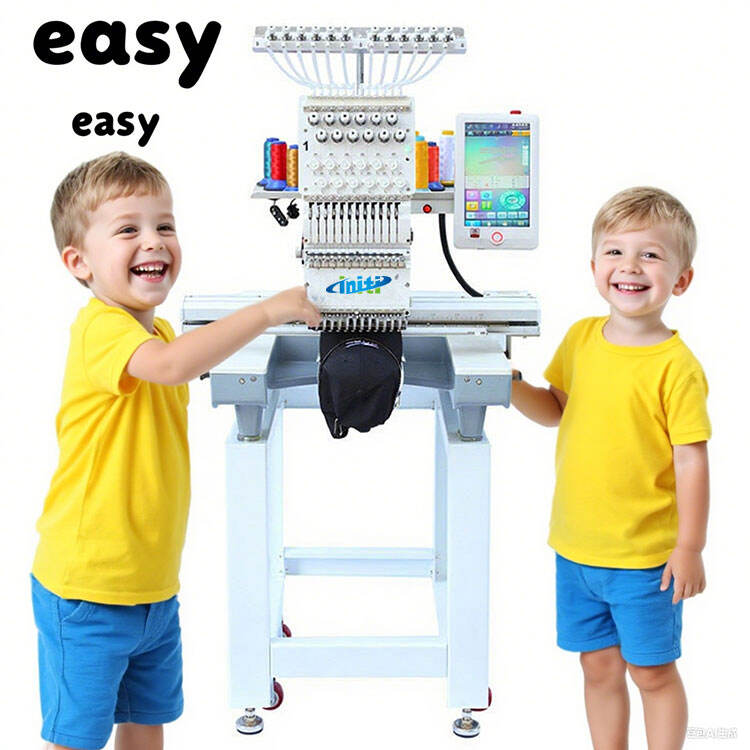
this is single head embroidery machine
this is multi-head embroidery machine