

Mastering Your Embroidery Machine: Solutions for Every Stitcher
Embroidery enthusiasts know that creating beautiful designs can sometimes feel like a complex dance between artistry and technology. An embroidery sewing machine offers incredible creative possibilities, but like any sophisticated equipment, it can present challenges that test even experienced crafters. Understanding how to address these common issues not only saves time and frustration but also helps you achieve professional-quality results consistently.
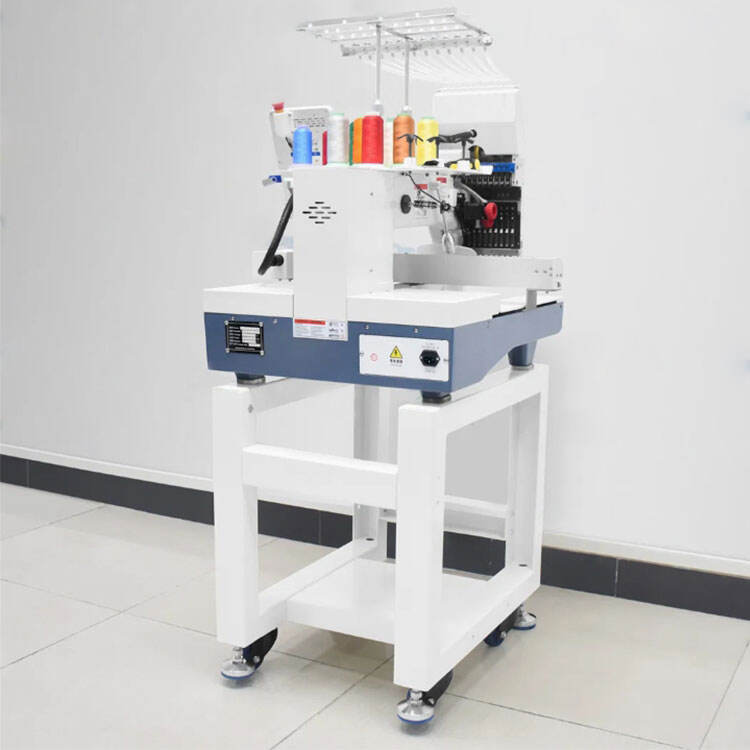
Whether you're a hobbyist or running a small embroidery business, knowing how to troubleshoot your embroidery sewing machine is essential. This comprehensive guide will walk you through the most frequent problems and their solutions, helping you maintain your creative flow without interruption.
Thread-Related Challenges and Solutions
Breaking Threads and Tension Problems
One of the most frustrating experiences when working with an embroidery sewing machine is thread breakage. This common issue often occurs due to incorrect tension settings or poor-quality thread. Start by checking that your machine is threaded correctly, following the threading guide in your manual. Ensure the thread passes smoothly through all guides and the tension discs.
Thread tension requires a delicate balance. If it's too tight, the thread will snap. Too loose, and you'll end up with loops on the underside of your fabric. Most embroidery sewing machine models have automatic tension settings, but you may need to make manual adjustments based on your thread type and fabric weight.
Thread Quality and Storage
The quality of your thread significantly impacts your embroidery results. Always use thread specifically designed for machine embroidery - regular sewing thread isn't suitable for the high speeds and tension required in embroidery work. Store your threads away from direct sunlight and dust, as exposure to these elements can weaken the fibers and lead to frequent breakage.
Consider investing in thread stands or proper storage solutions to prevent tangling and maintain thread quality. When using metallic or specialty threads, reduce your embroidery sewing machine speed to prevent breakage and achieve better stitch quality.
Fabric and Stabilizer Issues
Choosing the Right Stabilizer
Proper stabilization is crucial for successful machine embroidery. Using the wrong type or weight of stabilizer can result in puckering, distorted designs, or fabric damage. Light fabrics typically need cut-away stabilizer for support, while medium-weight fabrics might work well with tear-away options. Your embroidery sewing machine will perform better when the fabric is properly stabilized.
For stretchy fabrics, consider using multiple layers of stabilizer or combining different types. Remember to always test your stabilizer choice on a scrap piece of the same fabric before starting your actual project. This prevents costly mistakes and ensures your design will look professional.
Hooping Techniques
Incorrect hooping is a common source of embroidery problems. The fabric should be drum-tight in the hoop, but not stretched or distorted. When using an embroidery sewing machine, proper hooping ensures that the design will stitch out accurately and prevent fabric shifting during the process.
For delicate fabrics, consider floating the material on top of a hooped stabilizer to prevent hoop burn marks. Always use the appropriate hoop size for your design - using a hoop that's too small can cause the machine to hit the frame, while one that's too large might not provide adequate support.
Technical Maintenance and Care
Regular Cleaning Procedures
A well-maintained embroidery sewing machine performs better and lasts longer. Establish a regular cleaning routine after every few projects. Remove lint and thread debris from the bobbin area, under the needle plate, and around the tension discs. Use a small brush or compressed air to clean hard-to-reach areas.
Pay special attention to the bobbin case area, as lint buildup here can cause significant problems. Many embroidery machine issues stem from simple cleanliness problems. Make it a habit to oil your machine according to the manufacturer's instructions, using only recommended lubricants.
Software and Updates Management
Modern embroidery sewing machine models often come with built-in software that requires regular updates. Keep your machine's firmware current to ensure optimal performance and access to new features. Back up your custom designs and settings before performing any updates.
If your machine connects to a computer, maintain updated drivers and design software. This prevents compatibility issues and ensures smooth operation when transferring designs to your embroidery sewing machine.
Design and Pattern Optimization
Understanding Design Density
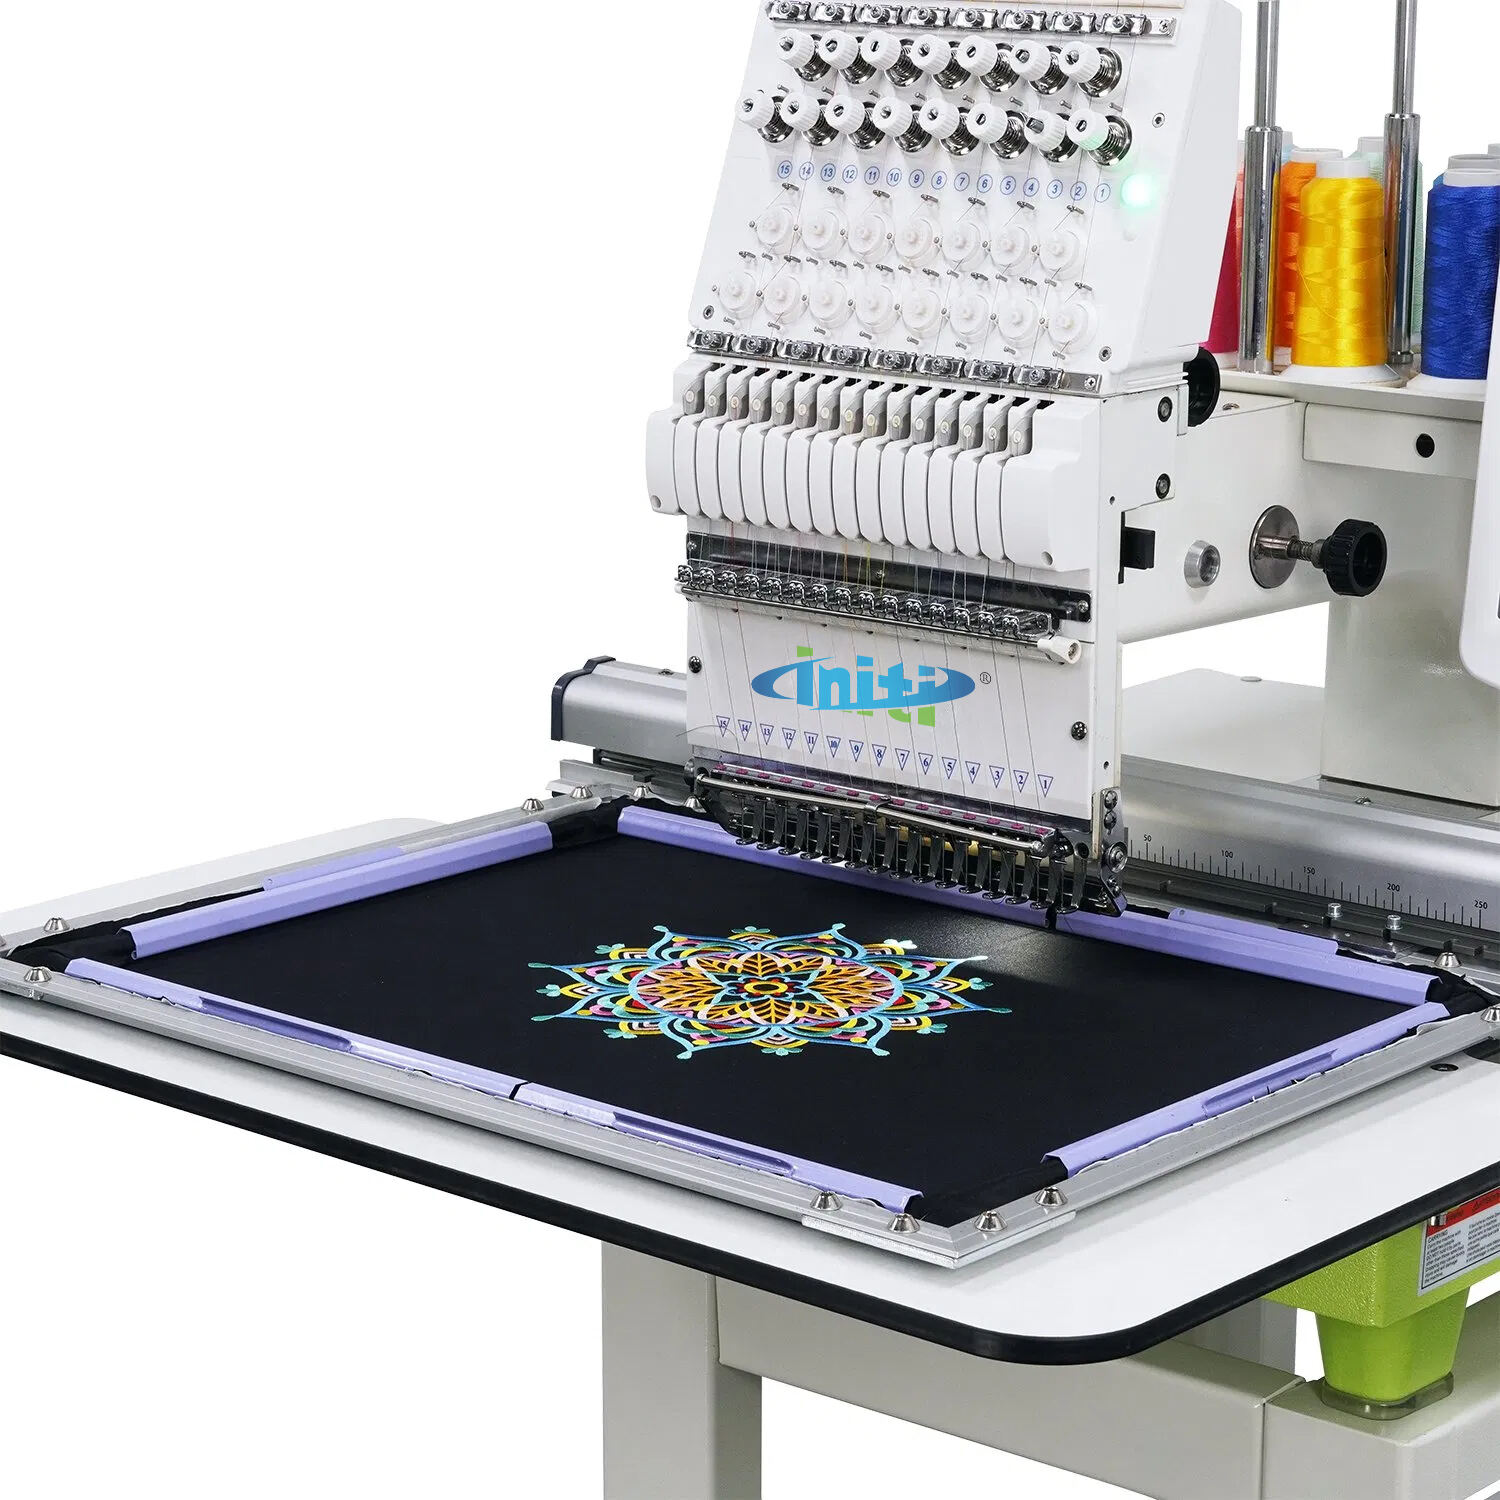
Overly dense designs can cause multiple problems, from thread breaks to fabric damage. When creating or selecting patterns for your embroidery sewing machine, pay attention to stitch density. A good design should have appropriate spacing between stitches to prevent thread buildup while maintaining visual appeal.
Consider the fabric type when choosing design density. Lighter fabrics require less dense designs, while heavier materials can handle more stitches. Most embroidery software allows you to adjust design density before sending it to your machine.
Size and Scale Considerations
Resizing embroidery designs isn't as simple as changing dimensions in your software. When you significantly alter a design's size, the stitch count and density need recalculation. Most embroidery sewing machine software can automatically adjust stitch properties when scaling, but always preview the results before stitching.
Remember that not all designs work well at every size. Some intricate details may be lost when scaling down, while increasing size too much can result in sparse-looking designs. Test stitch small sections before committing to a full project.
Frequently Asked Questions
Why does my embroidery sewing machine keep skipping stitches?
Skipped stitches often occur due to a dull or damaged needle, incorrect needle size, or improper threading. Replace your needle regularly, ensure it's the right size for your thread, and check that your machine is threaded correctly. Also verify that you're using the appropriate stabilizer for your fabric type.
How often should I service my embroidery sewing machine?
Professional servicing is recommended annually for machines used regularly, or after approximately 100 hours of operation. However, perform basic maintenance like cleaning and oiling according to your machine's manual, typically every 8-10 hours of use.
What causes thread nests under my embroidery?
Thread nests on the underside of your work usually indicate incorrect upper thread tension or improper threading. Ensure your machine is threaded correctly with the presser foot raised, check for any trapped thread in the tension discs, and verify that your bobbin is inserted properly with thread flowing in the correct direction.
Why do my designs appear distorted after stitching?
Design distortion typically results from inadequate stabilization or improper hooping. Use appropriate stabilizer for your fabric type, ensure fabric is hooped properly without stretching, and consider using additional stabilization for stretchy or delicate materials. Also check that your embroidery file hasn't been corrupted during transfer to the machine.